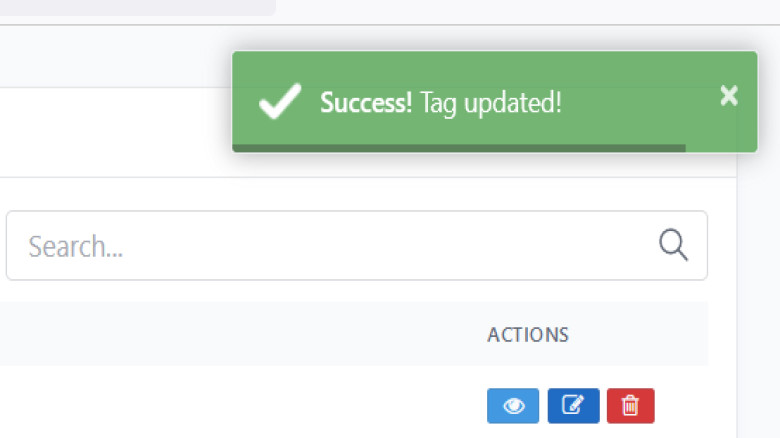
Using Toastr JS in Laravel to Show Notifications
Toastr is a popular JavaScript library that allows you to display beautiful and customizable notifications in your web application. In this article, we will walk through the steps to add Toastr to your HTML document and show usage examples in the context of a Laravel application.
Step 1: Adding Toastr CSS and JS files
To get started, you need to include the Toastr CSS and JS files. Copy and paste the following code within the `<head>` tag of your HTML document:
<link rel="stylesheet" href="https://cdnjs.cloudflare.com/ajax/libs/toastr.js/latest/css/toastr.min.css" />
<script src="https://cdnjs.cloudflare.com/ajax/libs/toastr.js/latest/js/toastr.min.js"></script>
Step 2: Adding the Script in the Footer
Next, you need to add a script that initializes Toastr and handles the display of notifications. Place the following code just before the closing `</body>` tag of your HTML document:
<script type="text/javascript">
  $(document).ready(function() {
      // toastr
      toastr.options = {
          'closeButton': true,
          'debug': false,
          'newestOnTop': false,
          'progressBar': true,
          'positionClass': 'toast-top-right',
          'preventDuplicates': false,
          'showDuration': '1000',
          'hideDuration': '1000',
          'timeOut': '5000',
          'extendedTimeOut': '1000',
          'showEasing': 'swing',
          'hideEasing': 'linear',
          'showMethod': 'fadeIn',
          'hideMethod': 'fadeOut'
      };
      @if (session('success'))
          toastr.success('<strong>Success!</strong> {{ session('success') }}');
      @endif
      @if (session('error'))
          toastr.error('<strong>Error!</strong> {{ session('error') }}');
      @endif
      @if (Session::has('errors'))
          @foreach ($errors->messages() as $key => $error)
              toastr.error('<strong>Error!</strong> {{ form_error_show($errors, $key) }}');
          @endforeach
      @endif
      // toastr end
  });
</script>
Step 3: Usage Examples
To display different types of notifications, use the following examples:
1. Success Message:
When you want to show a success message, use the following code after a successful operation:
// save
return redirect()->route("route_name")->with('success', 'Record Saved Successfully');
// delete
return redirect()->route("route_name")->with('success', 'Record removed Successfully');
// updated
return redirect()->back()->with('success', 'Record Updated Successfully');
2. Error Message:
To display an error message, use the following code:
return back()->with('error', 'Something Went Wrong');3. Validation Error Message:
In case of a validation error, you can use Laravel's validation mechanism, as shown below:
$this->validate($request, [
  'name' => 'required|string|max:255',
]);
Note: Adjustments for Different Frameworks
Please note that the provided code assumes you're using jQuery and Laravel's session and errors variables. If you're working with a different JavaScript framework or PHP framework, you may need to make appropriate adjustments.


Leave A Comment